Ensuring precision component quality
Challenge
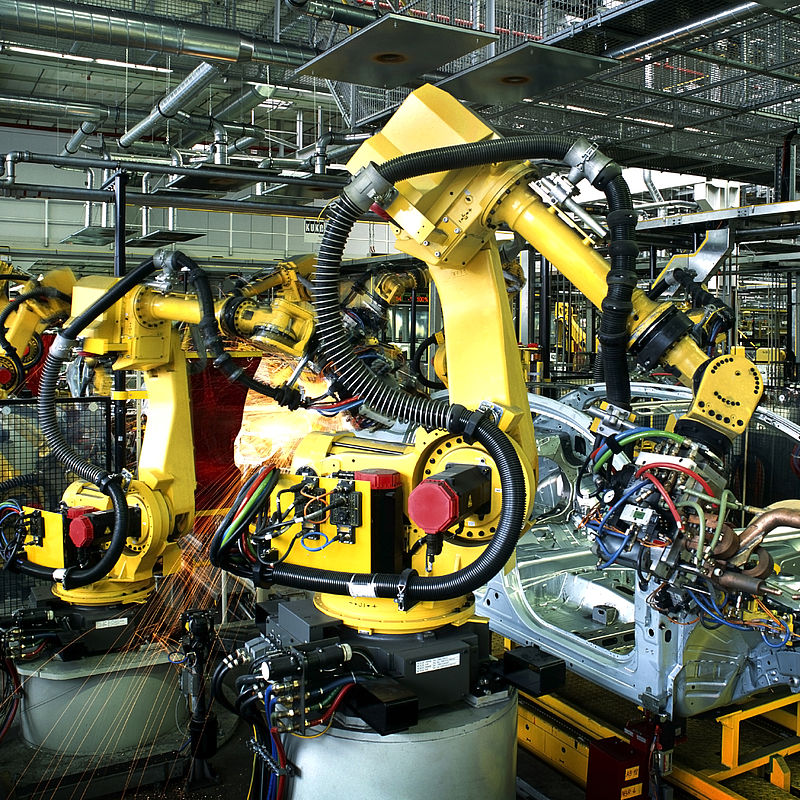
Ever smaller components in high value manufacturing industries, such as automotive and aerospace, require highly accurate machine tools to produce very precise features, sometimes at the nanoscale. Such tools make small, complex movements in a 3D space, known as ‘six degrees of freedom’. But their accuracy can drift due to temperature variations in production environments, so manufacturers need to check these tools regularly to ensure they are operating with the required precision.
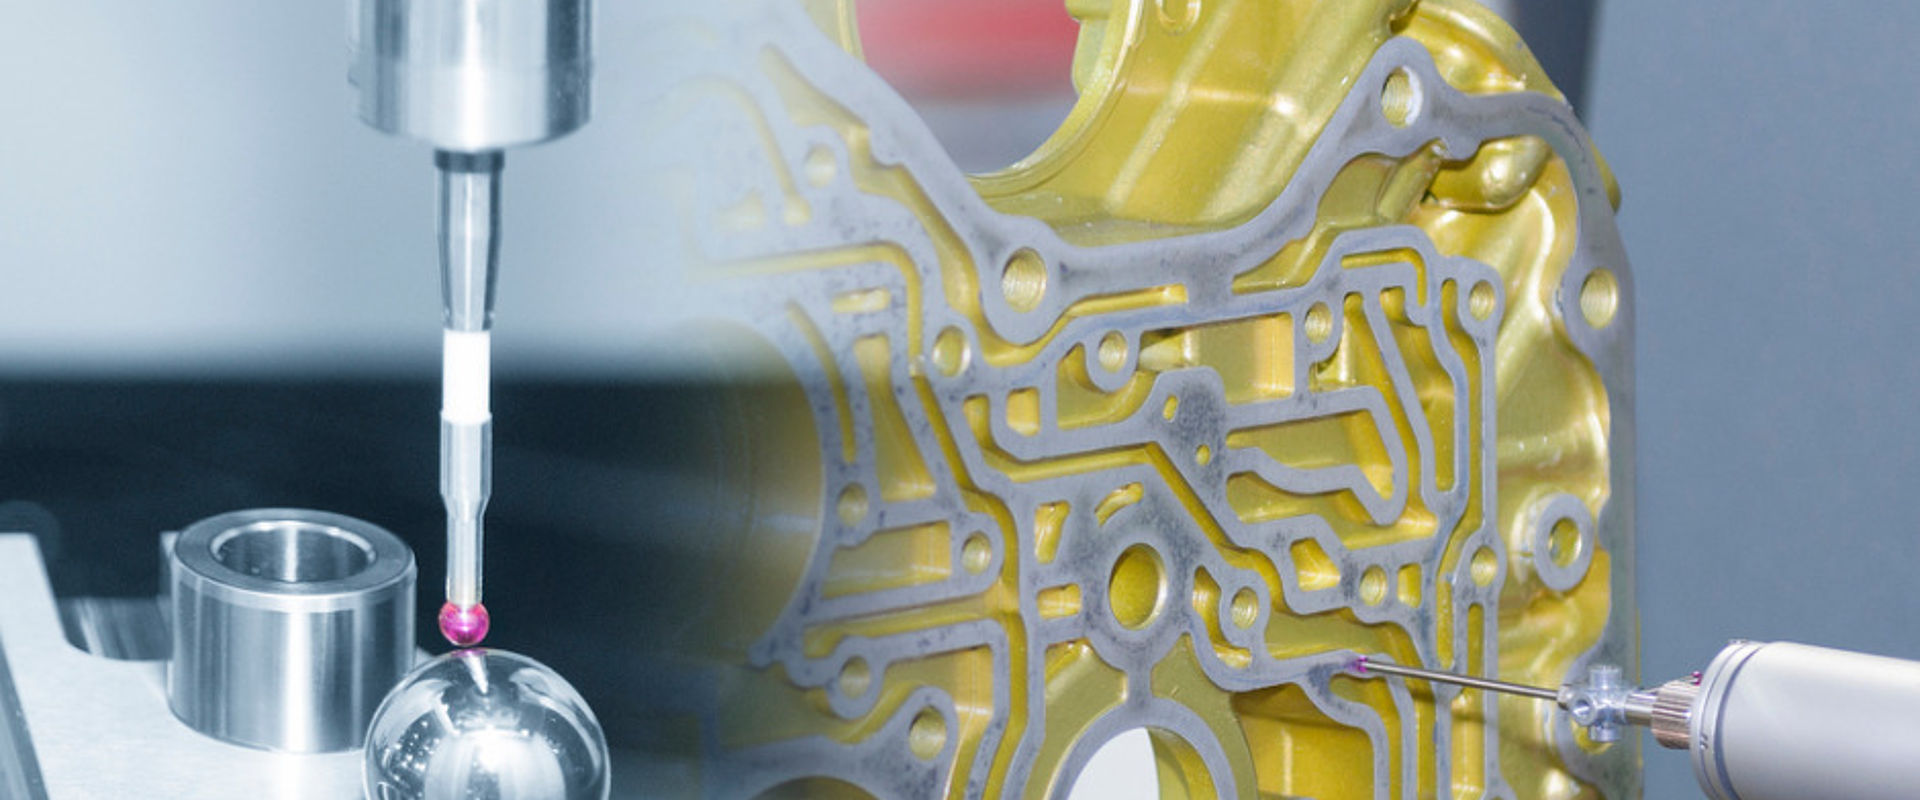
In the past, this would be done by stopping production, mounting the component away from the production line, and measuring it with a coordinate measurement machine to confirm the machine tool is working correctly. This creates production downtime and costs. If a fault is found, whole batches may need to be scrapped.
New measurement technologies are needed to ensure that machine tool movements are precise without halting the production process. Introducing automated quality control measurements and implementing immediate changes if machines drift, has great potential for improving component precision and reducing machining errors.
Solution
The EMRP Project, Metrology for movement and positioning in six degrees of freedom, upgraded an existing one-dimensional interferometry-based measurement technique to be suitable for 3D measurements.
Interferometry can be used to determine exact distances and precise movements by attaching reflective targets to objects that move, such as precision machine tool robotic arms. It works by splitting light beams in two, one beam is used as a reference and the other travels to and is reflected back from targets on the machine tool. Recombining the beams creates an interference pattern that is processed to determine the small changes in a machine tool’s position in a specific direction during use.
The project combined three interferometers, into a single system for determining locations in 3D. The system was made easier to use by the addition of a camera to capture interference patterns, so enabling digital image analysis. The interferometry systems stability to air turbulence and temperature changes, common in precision engineering workshops, was assessed during the project and its accuracy reliably confirmed against existing measurement methods.
Impact
Mpro GmbH, a precision measurement instrument startup company, is developing a prototype micro coordinate measurement machine using the project’s 3D interferometry system to supply its vital positioning accuracy. To increase the system’s suitability for use, Mpro is making it more compact and looking at ways to increase its operating speed. A feedback system is being added to instigate corrections to tool positioning in real time, improving the reliability of quality control and eliminating the need to shut down production to perform measurements. The new Mpro micro coordinate measurement machine will allow in-process verification of nanoscale 3D movements made by production machine tools.
Innovation in machine tool position detection has the potential to increase product quality and manufacturing efficiency in the electronics, aerospace and automotive industries. This will assist in maintaining Europe’s reputation for quality products and has the potential to contribute towards future economic growth.
- Category
- EMRP,
- Industry,
