A highly reproducible ionisation gauge for high vacuum environments
Challenge
Many high-end industrial production processes, including semiconductor and solar cell manufacturing, utilise high (10⁻¹-10⁻⁵ Pa) and ultra-high (10⁻⁵-10⁻¹⁰ Pa) vacuums. Instrumentation used in these areas, such as residual gas analysers and quadrupole mass spectrometers, require accurate calibration with ionisation gauges (IG).
The basic design of the commonly used Bayard-Alpert IG has changed little since the 1950s. These IG’s indirectly detect pressure by measuring positive ions produced when molecules from the vacuum environment are bombarded with electrons. These ions are attracted to a ‘collector’ generating a current proportional to the pressure in the system. For gas detection, due to the expense and time required, gauges are generally calibrated only with nitrogen and a ‘sensitivity factor’ applied to calculate calibration values for other gas types.
A major problem is internal components, such as the cathode and collector, are made of wires down to ~ 10 μm thick which are difficult to position reproducibly and prone to deformation during transport - causing instability and a large scatter of gas sensitivities. Because of this issue, sensitivity factors can have measurement uncertainties around 10-20% between different IG manufacturers – and even between individual gauges from the same manufacturer.
Standardisation bodies highlighted that important applications needed gauges with better accuracy, reproducibility and sensitivity for gas species – but none were available worldwide that met these criteria.
Solution
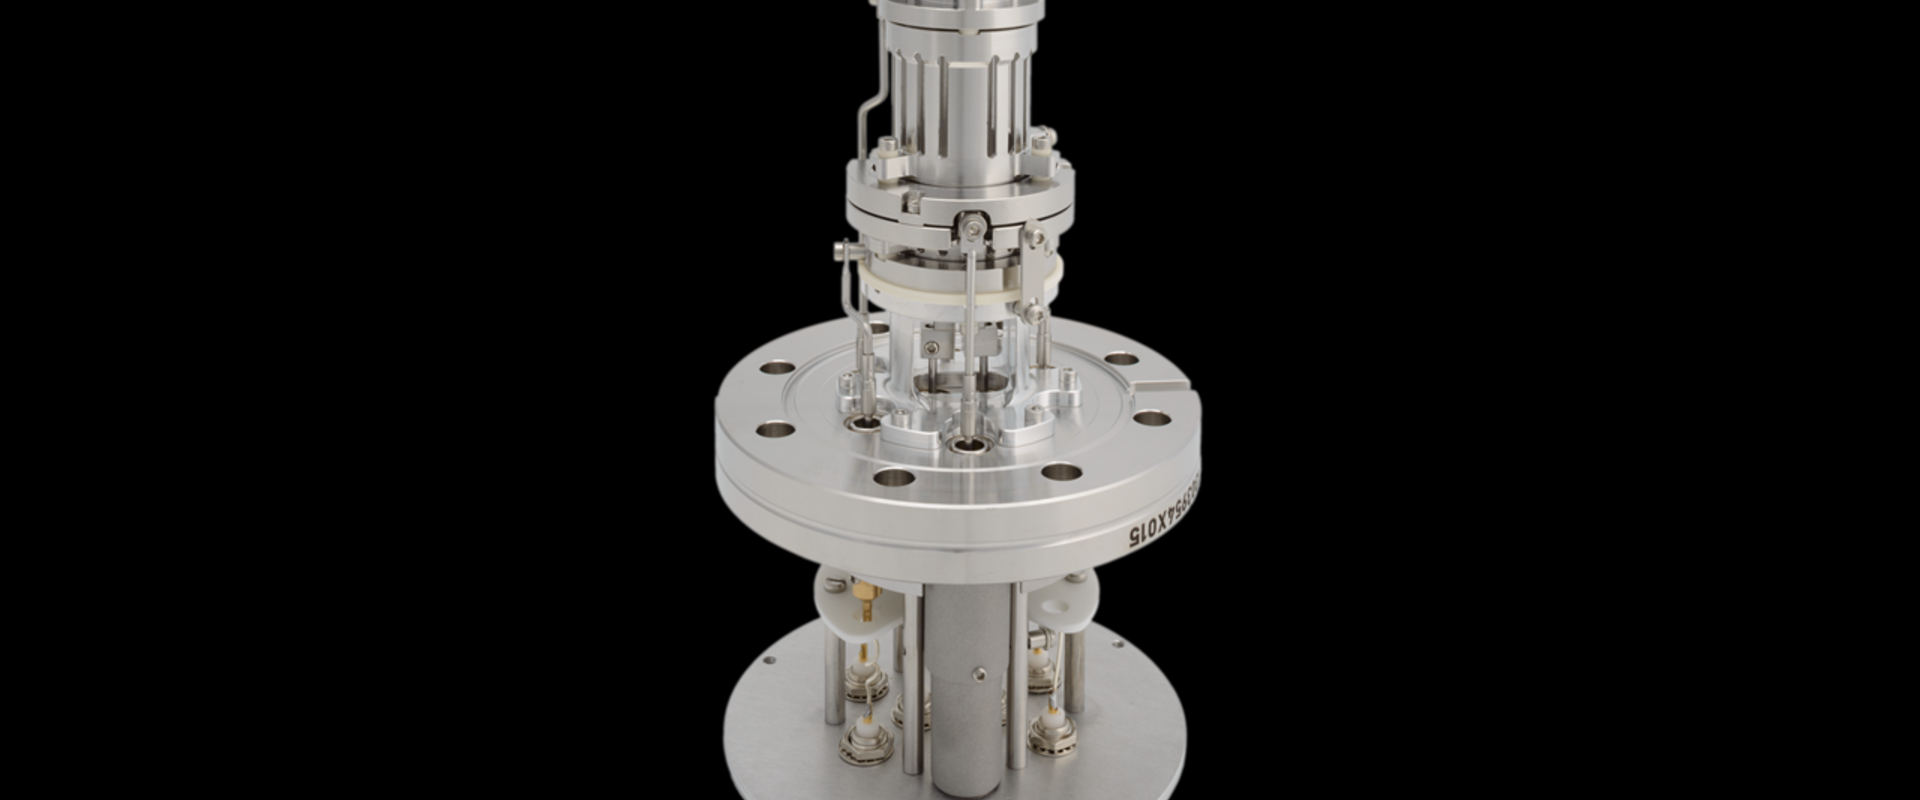
Following a review of 260 relevant papers the Ion Gauge project consortium performed simulations on a selected design using three different software packages: OPERA, SIMION and COMSOL. Based on the results two industrial partners individually developed ten prototype gauges each. The final IG showed predictable sensitivities with a very small spread (<1.5%), very good short-term repeatability (<0.06%) and reproducibility (<1%).
Stability to shock and transportation tests around Europe were performed, indicating that gauge measurements did not detectably change. With a measurement range from 10-6 Pa to 10-2 Pa and a relative standard uncertainty below 1 % for nitrogen gas, due to the novel design, it did not require recalibration – even after changing the cathode in the gauge.
Calculation of gas sensitivity factors for each individual gauge was no longer required due to the reduction in the measurement uncertainties of sensitivity factors from 10-20% to only 1-3 % depending on gas species.
Impact
INFICON is a leader in innovative instrumentation, critical sensor technologies and products for vacuums in production processes, such as coating and semiconductor industries. A project partner, the company applied their simulation software COSMOL to the new IG model, produced the model gauge and developed the final version of the new gauge.
INFICON now market the IG as the IRG080 along with a controller for its use. The company acknowledges that developing the new portable reference standard led to an increased accuracy of their own products, leading to a better service level for their customers. The company also gained increased confidence in their simulation software, which was ratified by comparison to other programmes, helping in the design of their own future products.
The open-access design by means of future ISO standardisation (ISO TS 6737) means that any experienced manufacturer can produce the new gauge.
As the sensitivities of all process gas species are known with high accuracy, individual gauges can be exchanged in industrial production without the need for calibration - removing time consuming process readjustments that lead to unscheduled production stoppages and lost productivity. Its transport and long-term stability ensure that it can also be used by calibration laboratories applying ISO 3567 and users applying ISO TS 20175 and ISO TS 20177.
With better accuracy, robustness and repeatability the IRG080 will improve quality assurance for vacuum equipment manufacturers,increasing customer confidence in European high-end products.
- Category
- EMPIR,
