Precision robotic movements

Challenge
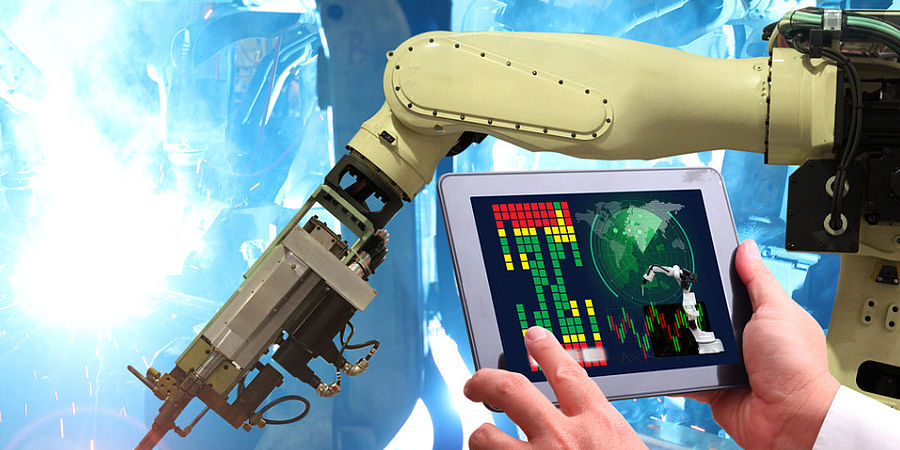
Precision manufacturing industries, such as aerospace, mechanical engineering, and automotive all rely on automation to produce quality products. Industrial robots making complex movements in 3D follow engineering designs to manufacture and assemble parts on the production line.
Robots are fitted with angle encoders, devices used to convert the angular position of a rotating shaft into an electrical signal. To ensure correct assembly, robotic arms must move through predescribed angles around rotating shafts, in a three-dimensional environment. Software delivers the required instructions according to the design need, as a series of small electrical signals. These signals are processed by controllers and matched with angle encoder’s, to drive the motors that translate them into the precision robotic movement required.
As manufacturing requires ever greater automation precision, angle encoder design and calibration must also develop greater accuracy. A particular challenge for angle encoders is that their angle measurement performance is heavily influenced by the rotation errors of the mechanisms that they are fitted to during calibration and use. An understanding of this and other sources of potential errors would improve measurement practices and support the development of the greater angle encoder precision demanded by the robotics and automation industry.
Solution
The EMRP project, Angle metrology, investigated performance and sources of measurement error for angle encoders to increase knowledge on the factors that affect calibration and operation, thereby improving traceability to the SI unit for angles – the ‘radian’.
This included a focus on emerging multiple scanning head angle encoders and the development of a self-calibration method for the fast and precise in-situ calibration of multi-head encoders with optimised numbers of reading heads. This method was validated using computer simulations and does not rely on external reference standards. The project also investigated various methods for calibrating angle encoders and identifying sources of measurement error. The measurement best practice information generated is now available to users as a EURAMET calibration guide for angle encoder calibration.
Impact
Fagor Automation, a manufacturer of machine automation technologies – in a collaboration with non-profit technology centre IK4-Tekniker – has used project knowledge and understanding to design and commission a new angle encoder assessment machine fitted with a special multiple reading head angle encoder. This new test machine acts as a reference device and uses the project derived self-calibration principle to achieve more precise calibrations for Fagor Automation’s angle encoders. Fagor Automation have also developed new software for assessing calibration result spread therefore increasing confidence in measurement results.
With these improved assessment tools, Fagor’s R&D department can better evaluate the performance of new and improved prototype encoders. This is enabling the company to develop angle encoders with increased accuracy and improved repeatability, leading to a 100 % improvement in product performance. These advances in angle encoder precision will allow robotics companies to develop the more precise 3D movement capabilities needed to underpin the next generation of automated machine tools. Providing greater precision for robotic arms carrying process tools, such as those used for cutting, drilling, welding, or spraying paint, has the potential to boost the competitiveness of Europe’s major manufacturing industries.

