Quantitative measurements for nano-scale magnetic fields
Challenge
The magnetic sensor market was €1.7 billion in 2019 and is estimated to reach €2.5 billion by 2025. Growth is anticipated to arise from an increase in consumer electronics, robotics, automated systems, and information technology. In these areas’ nano-scale structures with magnetic properties are used to decrease device size, increase performance, data storage and retrieval or for precision position control and sensing in industrial applications. Traceable and reliable measurements of magnetic fields and flux densities on the microor nanometre scale are required to ensure these structures have the correct geometrical, physical, and functional properties. Magnetic Force Microscopy (MFM), a type of Atomic Force Microscopy (AFM), utilises a magnetic probe tip which moves across a sample’s surface and maps the magnetic field patterns via interactions between the sample and tip’s magnetic fields. MFM can measure down to the 10 nm level, however the large measurement uncertainty of this interaction, and a lack of knowledge of tip’s stray field, meant that although widely used MFM yielded mostly qualitative data at this scale. In optical microscopy ‘point spread function’ is used to estimate how the optical system itself impacts on image quality. In MFM a similar concept, ‘Tip Transfer Function’ (TTF), can be used to specify the imaging properties of the probe, allowing quantitative information about the sample’s stray field. The TTF approach however required well characterised magnetic reference samples which did not exist, preventing its use in quantitative MFM.
Solution
The EMPIR project NanoMag compared three different calibration approaches for MFM. In the first TTF calibration was performed using a new nano-scale reference material generated in the project. This consisted of multilayers of thin cobalt/platinum films with monodomain ‘perpendicular magnetic anisotropy’ (PMA) meaning that 92% of the magnetisation alignment is perpendicular to the sample plane, thus providing a strong and readily calculable stray field above the surface useful for TTF analysis.
To reduce factors such as image blurring data from the probe tip was processed with a deconvolution algorithm using a novel MFM module in the open source Gwyddion software, which was developed and validated within the EMPIR project. In the second and third approaches MFM was used to measure two other reference materials, micron-sized magnetic coils, and nano-scale graphene Hall crosses. Results were validated by a round robin between four project partners, indicating the TTF approach using the PMA calibration material was more robust to external influences, easier to implement and capable of generating qualitative magnetic measurements down to the 50 nm level.
Impact
NenoVision, based in Czech Republic, develops, manufactures, and sells LiteScope™, a compact AFM module for integration into scanning electron microscopes.
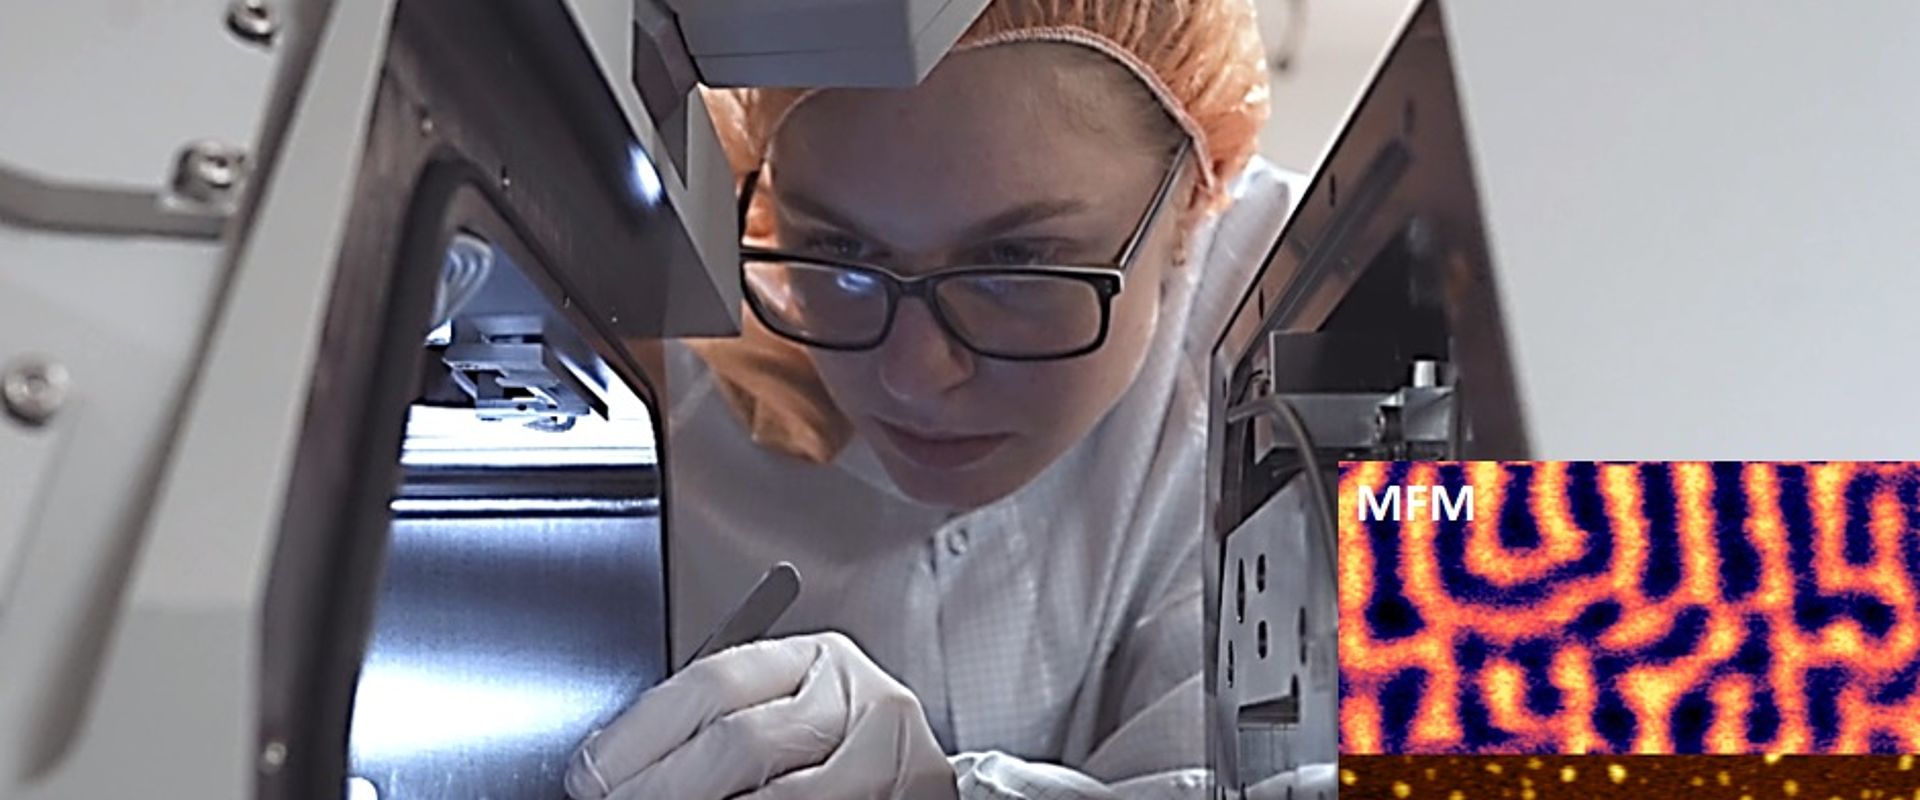
The company was adding MFM capability into this module to allow correlative microscopy – using simultaneous data acquisition of both AFM and SEM techniques. This novel approach enables in-situ analysis and correlation of topography, magnetic and chemical properties of the sample. However, the company had encountered a problem utilizing self-sensing MFM probes and was unable to determine if this lay with the probe tip or another component. NenoVision used the PMA nano-scale reference materials to resolve this. The materials provided by the EMPIR project have also been used to validate and demonstrate the performance of the AFM/MFM module to NenoVision’s clients in-situ.
Along with a good practice guide ’Guidelines for Nano-scale Magnetic Stray Field Measurements’ the TTF approach and new reference material the first nano-scale quantitative MFM measurements was established. In the long term this could help European industries maintain a world leading market and technological position in the important areas of magnetic sensor and magnetic component manufacturing.
- Category
- EMPIR,
- SI Broader Scope / Integrated European Metrology,
